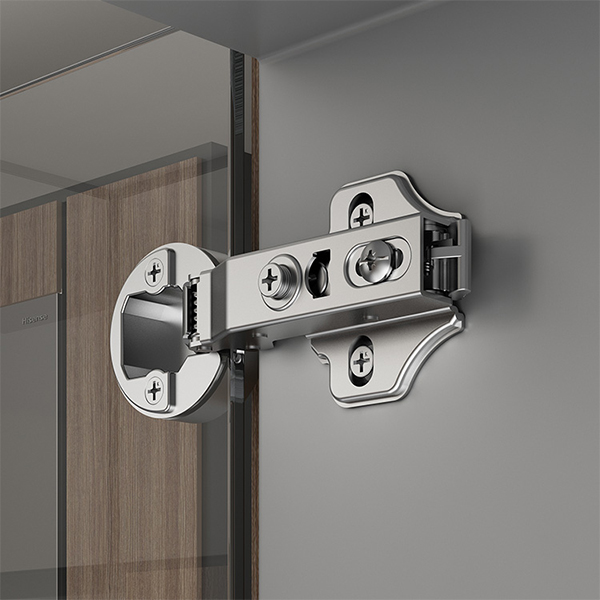
When installing glass cabinet doors, it's crucial to choose the right types of cabinet hinges to ensure proper functionality and aesthetics. Glass cabinet doors typically require hinges that are specifically designed for use with glass, such as glass-to-glass hinges or glass-to-wall hinges. These hinges are designed to securely hold the glass in place while allowing it to swing open and close smoothly. Using the wrong type of hinge can result in damage to the glass or the hinges themselves, so it's essential to select hinges that are suitable for use with glass cabinet doors.
Tools and Materials Needed
- Glass cabinet door hinges
- Screwdriver
- Measuring tape
- Pencil
- Drill
- Wood screws
- Level
Step-by-Step Installation Guide
1. Prepare the Cabinet Doors
Start by removing the cabinet doors from the cabinet frame if they are not already detached. Lay the doors flat on a clean, stable surface to work on.
2. Position the Hinges
Place the hinges on the edge of the cabinet door where you want to install them. Use a measuring tape and pencil to mark the positions of the screw holes on the door. Ensure that the hinges are positioned correctly and are aligned with each other if installing multiple hinges on the same door.
3. Drill Pilot Holes
Using a drill bit slightly smaller than the diameter of the screws provided with the hinges, drill pilot holes at the marked positions on the cabinet door. Be careful not to drill too deep to avoid damaging the door.
4. Attach the Hinges
Place the hinges back on the door and align them with the pilot holes. Use the screws provided with the hinges to secure them to the door. Start by loosely attaching the screws and then tighten them once all screws are in place.
5. Mount the Doors
With the hinges attached to the doors, it's time to mount the doors back onto the cabinet frame. Align the hinges with the corresponding mounting plates on the frame and gently push the door into place. The hinges should snap or click into the mounting plates.
6. Adjust the Doors
Once the doors are mounted, check to see if they are aligned and close properly. If necessary, use a screwdriver to adjust the hinges for a proper fit. Most hinges have adjustment screws that can be turned to move the door up, down, left, or right.
7. Secure the Hinges
Once the doors are properly adjusted, secure the hinges to the cabinet frame using the screws provided. Make sure the screws are tight to prevent the doors from sagging or coming loose over time.
8. Check for Smooth Operation
Open and close the cabinet doors several times to ensure they operate smoothly and without any obstruction. Adjust the hinges further if necessary to achieve the desired fit and operation.
9. Final Touches
Once you are satisfied with the fit and operation of the doors, make any final adjustments and tighten all screws securely. Clean the glass and the surrounding area to remove any fingerprints or marks from the installation process.
10. Enjoy Your New Glass Cabinet Doors
With the hinges installed correctly, your glass cabinet doors should operate smoothly and add a touch of elegance to your cabinets. Enjoy the enhanced aesthetics and functionality of your newly installed glass cabinet doors.
Installing glass cabinet door hinges requires precision and attention to detail, but with the right tools and a systematic approach, you can achieve professional-looking results. Following these steps will help you install glass cabinet door hinges properly and ensure that your cabinet doors function smoothly for years to come.
